Chapter 2
Content
Find out how to create and organize your content quickly and intuitively.
Find out how to create and organize your content quickly and intuitively.
In Hugo, pages are the core of your site. Once it is configured, pages are definitely the added value to your documentation site.
Organize your site like any other Hugo project. Typically, you will have a content folder with all your pages.
content
├── level-one
│   ├── level-two
│   │   ├── level-three
│   │   │   ├── level-four
│   │   │   │   ├── _index.md       <-- /level-one/level-two/level-three/level-four
│   │   │   │   ├── page-4-a.md     <-- /level-one/level-two/level-three/level-four/page-4-a
│   │   │   │   ├── page-4-b.md     <-- /level-one/level-two/level-three/level-four/page-4-b
│   │   │   │   └── page-4-c.md     <-- /level-one/level-two/level-three/level-four/page-4-c
│   │   │   ├── _index.md           <-- /level-one/level-two/level-three
│   │   │   ├── page-3-a.md         <-- /level-one/level-two/level-three/page-3-a
│   │   │   ├── page-3-b.md         <-- /level-one/level-two/level-three/page-3-b
│   │   │   └── page-3-c.md         <-- /level-one/level-two/level-three/page-3-c
│   │   ├── _index.md               <-- /level-one/level-two
│   │   ├── page-2-a.md             <-- /level-one/level-two/page-2-a
│   │   ├── page-2-b.md             <-- /level-one/level-two/page-2-b
│   │   └── page-2-c.md             <-- /level-one/level-two/page-2-c
│   ├── _index.md                   <-- /level-one
│   ├── page-1-a.md                 <-- /level-one/page-1-a
│   ├── page-1-b.md                 <-- /level-one/page-1-b
│   └── page-1-c.md                 <-- /level-one/page-1-c
├── _index.md                       <-- /
└── page-top.md                     <-- /page-top
_index.md is required in each folder, it’s your “folder home page”
The Relearn theme defines two types of pages. Default and Chapter. Both can be used at any level of the documentation, the only difference being layout display.
A Chapter displays a page meant to be used as introduction for a set of child pages. Commonly, it contains a simple title and a catch line to define content that can be found under it.
You can define any HTML as prefix for the menu. In the example below, it’s just a number but that could be an icon.
+++
chapter = true
pre = "<b>1. </b>"
title = "Basics"
weight = 5
+++

### Chapter 1

# Basics

Discover what this Hugo theme is all about and the core-concepts behind it.
To tell the Relearn theme to consider a page as a chapter, set chapter=true in the Front Matter of the page.
A Default page is any other content page.
+++
title = "Installation"
weight = 15
+++
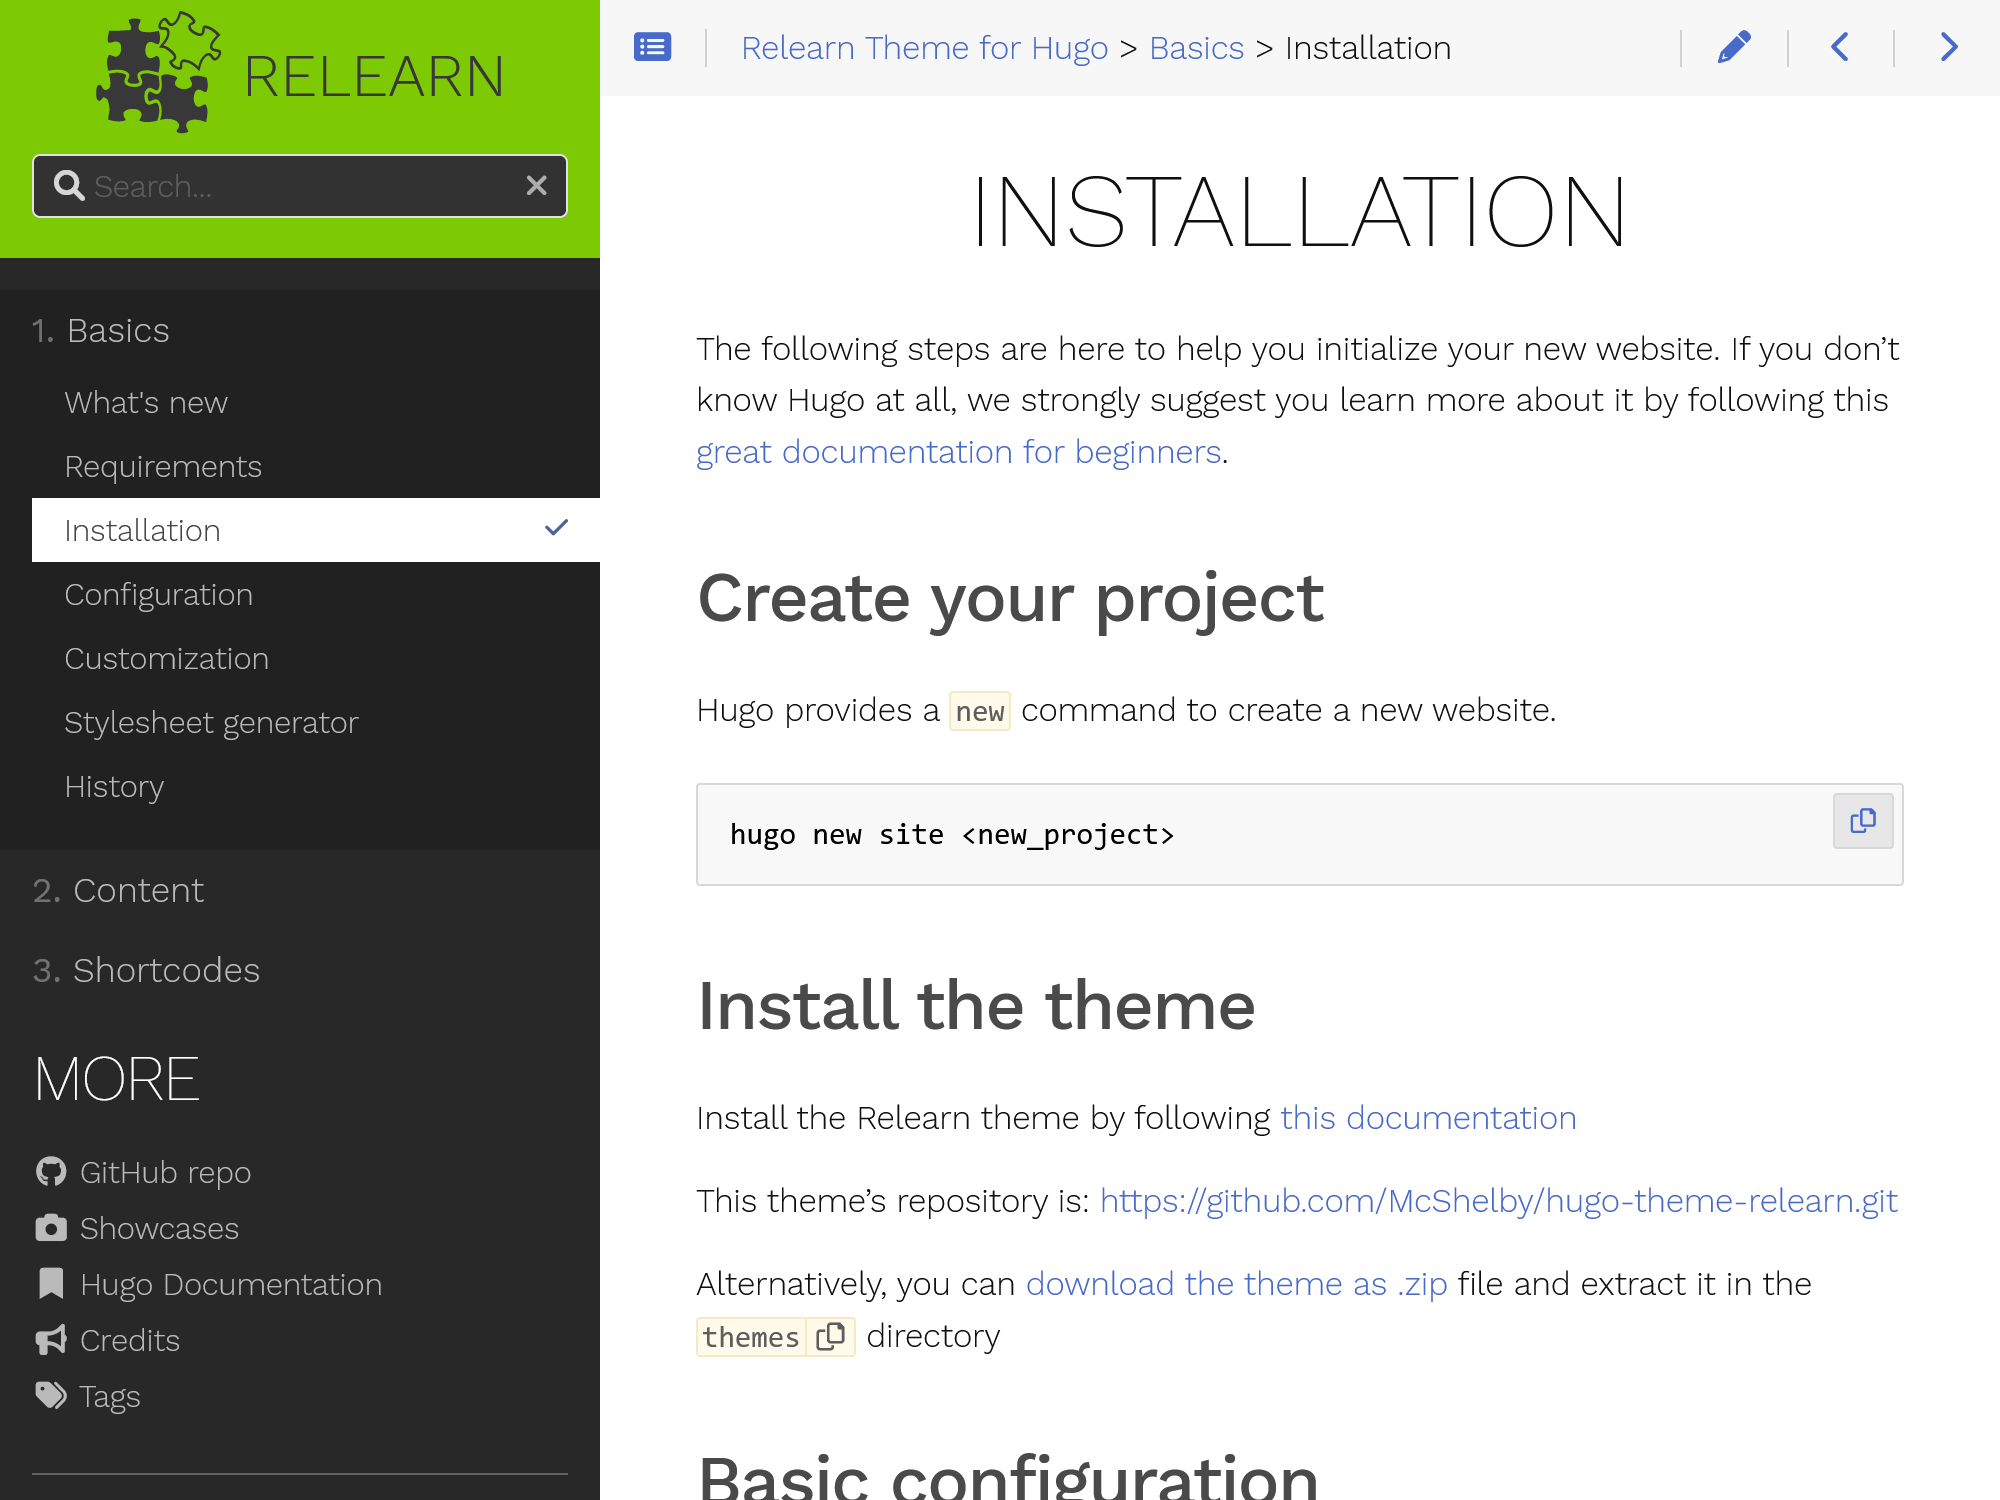
The following steps are here to help you initialize your new website. If you don’t know Hugo at all, we strongly suggest you to train by following this great documentation for beginners.
Hugo provides a new command to create a new website.
hugo new site <new_project>
The Relearn theme provides archetypes to help you create this kind of pages.
Each Hugo page has to define a Front Matter in toml, yaml or json. This site will use toml in all cases.
The Relearn theme uses the following parameters on top of Hugo ones :
+++
# Table of contents (toc) is enabled by default. Set this parameter to true to disable it.
# Note: Toc is always disabled for chapter pages
disableToc = false
# If set, this will be used for the page's menu entry (instead of the `title` attribute)
menuTitle = ""
# If set, this will explicitly override common rules for the expand state of a page's menu entry
alwaysopen = true
# If set, this will explicitly override common rules for the sorting order of a page's submenu entries
ordersectionsby = "title"
# The title of the page in menu will be prefixed by this HTML content
pre = ""
# The title of the page in menu will be postfixed by this HTML content
post = ""
# Set the page as a chapter, changing the way it's displayed
chapter = false
# Hide a menu entry by setting this to true
hidden = false
# Display name of this page modifier. If set, it will be displayed in the footer.
LastModifierDisplayName = ""
# Email of this page modifier. If set with LastModifierDisplayName, it will be displayed in the footer
LastModifierEmail = ""
+++
In the page frontmatter, add a pre param to insert any HTML code before the menu label. The example below uses the GitHub icon.
+++
title = "GitHub repo"
pre = "<i class='fab fa-github'></i> "
+++
![]()
Hugo provides a flexible way to handle order for your pages.
The simplest way is to set weight parameter to a number.
+++
title = "My page"
weight = 5
+++
By default, the Relearn theme will use a page’s title attribute for the menu item (or linkTitle if defined).
But a page’s title has to be descriptive on its own while the menu is a hierarchy.
We’ve added the menuTitle parameter for that purpose:
For example (for a page named content/install/linux.md):
+++
title = "Install on Linux"
menuTitle = "Linux"
+++
You can change how the theme expands menu entries on the side of the content with the alwaysopen setting on a per page basis. If alwaysopen=false for any given entry, its children will not be shown in the menu as long as it is not necessary for the sake of navigation.
The theme generates the menu based on the following rules:
alwaysopen=falsealwaysopen=truealwaysopen=true; this proceeds recursivleyYou can see this feature in action on the example page for children shortcode and its children pages.
To configure your page, you basically have three choices:
_index.md document in content folder and fill the file with Markdown contentindex.html file in the static folder and fill the file with HTML contentUsing the command: hugo new [relative new content path], you can start a content file with the date and title automatically set. While this is a welcome feature, active writers need more: archetypes.
It is pre-configured skeleton pages with default front matter. Please refer to the documentation for types of page to understand the differences.
To create a Chapter page, run the following commands
hugo new --kind chapter <name>/_index.md
It will create a page with predefined Front-Matter:
+++
chapter = true
pre = "<b>X. </b>"
title = "{{ replace .Name "-" " " | title }}"
weight = 5
+++

### Chapter X

# Some Chapter title

Lorem Ipsum.
To create a default page, run either one of the following commands either
hugo new <chapter>/<name>/_index.md
or
hugo new <chapter>/<name>.md
It will create a page with predefined Front-Matter:
+++
title = "{{ replace .Name "-" " " | title }}"
weight = 5
+++

Lorem Ipsum.
Let’s face it: Writing content for the Web is tiresome. WYSIWYG editors help alleviate this task, but they generally result in horrible code, or worse yet, ugly web pages.
Markdown is a better way to write HTML, without all the complexities and ugliness that usually accompanies it.
Some of the key benefits are:
John Gruber, the author of Markdown, puts it like this:
The overriding design goal for Markdown’s formatting syntax is to make it as readable as possible. The idea is that a Markdown-formatted document should be publishable as-is, as plain text, without looking like it’s been marked up with tags or formatting instructions. While Markdown’s syntax has been influenced by several existing text-to-HTML filters, the single biggest source of inspiration for Markdown’s syntax is the format of plain text email. John Gruber
Without further delay, let us go over the main elements of Markdown and what the resulting HTML looks like:
Bookmark this page and the official Commonmark reference for easy future reference!
Headings from h1 through h6 are constructed with a # for each level:
# h1 Heading
## h2 Heading
### h3 Heading
#### h4 Heading
##### h5 Heading
###### h6 Heading
Renders to:
HTML:
<h1>h1 Heading</h1>
<h2>h2 Heading</h2>
<h3>h3 Heading</h3>
<h4>h4 Heading</h4>
<h5>h5 Heading</h5>
<h6>h6 Heading</h6>
Comments should be HTML compatible
<!--
This is a comment
-->
Comment below should NOT be seen:
The HTML <hr> element is for creating a “thematic break” between paragraph-level elements. In Markdown, you can create a <hr> with --- - three consecutive dashes
renders to:
Any text not starting with a special sign is written as normal, plain text and will be wrapped within <p></p> tags in the rendered HTML.
So this body copy:
Lorem ipsum dolor sit amet, graecis denique ei vel, at duo primis mandamus. Et legere ocurreret pri, animal tacimates complectitur ad cum. Cu eum inermis inimicus efficiendi. Labore officiis his ex, soluta officiis concludaturque ei qui, vide sensibus vim ad.
renders to this HTML:
<p>Lorem ipsum dolor sit amet, graecis denique ei vel, at duo primis mandamus. Et legere ocurreret pri, animal tacimates complectitur ad cum. Cu eum inermis inimicus efficiendi. Labore officiis his ex, soluta officiis concludaturque ei qui, vide sensibus vim ad.</p>
For emphasizing a snippet of text with a heavier font-weight.
The following snippet of text is rendered as bold text.
**rendered as bold text**
renders to:
rendered as bold text
and this HTML
<strong>rendered as bold text</strong>
For emphasizing a snippet of text with italics.
The following snippet of text is rendered as italicized text.
_rendered as italicized text_
renders to:
rendered as italicized text
and this HTML:
<em>rendered as italicized text</em>
In GFM (GitHub flavored Markdown) you can do strikethroughs.
~~Strike through this text.~~
Which renders to:
Strike through this text.
HTML:
<del>Strike through this text.</del>
For quoting blocks of content from another source within your document.
Add > before any text you want to quote.
> **Fusion Drive** combines a hard drive with a flash storage (solid-state drive) and presents it as a single logical volume with the space of both drives combined.
Renders to:
Fusion Drive combines a hard drive with a flash storage (solid-state drive) and presents it as a single logical volume with the space of both drives combined.
and this HTML:
<blockquote>
  <p><strong>Fusion Drive</strong> combines a hard drive with a flash storage (solid-state drive) and presents it as a single logical volume with the space of both drives combined.</p>
</blockquote>
Blockquotes can also be nested:
> Donec massa lacus, ultricies a ullamcorper in, fermentum sed augue. Nunc augue augue, aliquam non hendrerit ac, commodo vel nisi.
>
> > Sed adipiscing elit vitae augue consectetur a gravida nunc vehicula. Donec auctor odio non est accumsan facilisis. Aliquam id turpis in dolor tincidunt mollis ac eu diam.
>
> Mauris sit amet ligula egestas, feugiat metus tincidunt, luctus libero. Donec congue finibus tempor. Vestibulum aliquet sollicitudin erat, ut aliquet purus posuere luctus.
Renders to:
Donec massa lacus, ultricies a ullamcorper in, fermentum sed augue. Nunc augue augue, aliquam non hendrerit ac, commodo vel nisi.
Sed adipiscing elit vitae augue consectetur a gravida nunc vehicula. Donec auctor odio non est accumsan facilisis. Aliquam id turpis in dolor tincidunt mollis ac eu diam.
Mauris sit amet ligula egestas, feugiat metus tincidunt, luctus libero. Donec congue finibus tempor. Vestibulum aliquet sollicitudin erat, ut aliquet purus posuere luctus.
A list of items in which the order of the items does not explicitly matter.
You may use any of the following symbols to denote bullets for each list item:
* valid bullet
- valid bullet
+ valid bullet
For example
+ Lorem ipsum dolor sit amet
+ Consectetur adipiscing elit
+ Integer molestie lorem at massa
+ Facilisis in pretium nisl aliquet
+ Nulla volutpat aliquam velit
  - Phasellus iaculis neque
  - Purus sodales ultricies
  - Vestibulum laoreet porttitor sem
  - Ac tristique libero volutpat at
+ Faucibus porta lacus fringilla vel
+ Aenean sit amet erat nunc
+ Eget porttitor lorem
Renders to:
And this HTML
<ul>
  <li>Lorem ipsum dolor sit amet</li>
  <li>Consectetur adipiscing elit</li>
  <li>Integer molestie lorem at massa</li>
  <li>Facilisis in pretium nisl aliquet</li>
  <li>Nulla volutpat aliquam velit
    <ul>
      <li>Phasellus iaculis neque</li>
      <li>Purus sodales ultricies</li>
      <li>Vestibulum laoreet porttitor sem</li>
      <li>Ac tristique libero volutpat at</li>
    </ul>
  </li>
  <li>Faucibus porta lacus fringilla vel</li>
  <li>Aenean sit amet erat nunc</li>
  <li>Eget porttitor lorem</li>
</ul>
A list of items in which the order of items does explicitly matter.
1. Lorem ipsum dolor sit amet
4. Consectetur adipiscing elit
2. Integer molestie lorem at massa
8. Facilisis in pretium nisl aliquet
4. Nulla volutpat aliquam velit
99. Faucibus porta lacus fringilla vel
21. Aenean sit amet erat nunc
6. Eget porttitor lorem
Renders to:
And this HTML:
<ol>
  <li>Lorem ipsum dolor sit amet</li>
  <li>Consectetur adipiscing elit</li>
  <li>Integer molestie lorem at massa</li>
  <li>Facilisis in pretium nisl aliquet</li>
  <li>Nulla volutpat aliquam velit</li>
  <li>Faucibus porta lacus fringilla vel</li>
  <li>Aenean sit amet erat nunc</li>
  <li>Eget porttitor lorem</li>
</ol>
If you just use 1. for each number, Markdown will automatically number each item. For example:
1. Lorem ipsum dolor sit amet
1. Consectetur adipiscing elit
1. Integer molestie lorem at massa
1. Facilisis in pretium nisl aliquet
1. Nulla volutpat aliquam velit
1. Faucibus porta lacus fringilla vel
1. Aenean sit amet erat nunc
1. Eget porttitor lorem
Renders to:
Wrap inline snippets of code with `.
In this example, `<div></div>` should be wrapped as **code**.
Renders to:
In this example, <div></div> should be wrapped as code.
HTML:
<p>In this example, <code><div></div></code> should be wrapped as <strong>code</strong>.</p>
Or indent several lines of code by at least two spaces, as in:
    // Some comments
    line 1 of code
    line 2 of code
    line 3 of code
Renders to:
// Some comments
line 1 of code
line 2 of code
line 3 of code
HTML:
<pre>
  <code>
    // Some comments
    line 1 of code
    line 2 of code
    line 3 of code
  </code>
</pre>
Use “fences” ``` to block in multiple lines of code.
```
Sample text here...
```
HTML:
<pre>
  <code>Sample text here...</code>
</pre>
GFM, or “GitHub Flavored Markdown” also supports syntax highlighting. To activate it, usually you simply add the file extension of the language you want to use directly after the first code “fence”, ```js, and syntax highlighting will automatically be applied in the rendered HTML.
See Code Highlighting for additional documentation.
For example, to apply syntax highlighting to JavaScript code:
```js
grunt.initConfig({
  assemble: {
    options: {
      assets: 'docs/assets',
      data: 'src/data/*.{json,yml}',
      helpers: 'src/custom-helpers.js',
      partials: ['src/partials/**/*.{hbs,md}']
    },
    pages: {
      options: {
        layout: 'default.hbs'
      },
      files: {
        './': ['src/templates/pages/index.hbs']
      }
    }
  }
};
```
Renders to:
grunt.initConfig({
  assemble: {
    options: {
      assets: 'docs/assets',
      data: 'src/data/*.{json,yml}',
      helpers: 'src/custom-helpers.js',
      partials: ['src/partials/**/*.{hbs,md}']
    },
    pages: {
      options: {
        layout: 'default.hbs'
      },
      files: {
        './': ['src/templates/pages/index.hbs']
      }
    }
  }
};
Tables are created by adding pipes as dividers between each cell, and by adding a line of dashes (also separated by bars) beneath the header. Note that the pipes do not need to be vertically aligned.
| Option | Description |
| ------ | ----------- |
| data   | path to data files to supply the data that will be passed into templates. |
| engine | engine to be used for processing templates. Handlebars is the default. |
| ext    | extension to be used for dest files. |
Renders to:
| Option | Description |
|---|---|
| data | path to data files to supply the data that will be passed into templates. |
| engine | engine to be used for processing templates. Handlebars is the default. |
| ext | extension to be used for dest files. |
And this HTML:
<table>
  <tr>
    <th>Option</th>
    <th>Description</th>
  </tr>
  <tr>
    <td>data</td>
    <td>path to data files to supply the data that will be passed into templates.</td>
  </tr>
  <tr>
    <td>engine</td>
    <td>engine to be used for processing templates. Handlebars is the default.</td>
  </tr>
  <tr>
    <td>ext</td>
    <td>extension to be used for dest files.</td>
  </tr>
</table>
Adding a colon on the right side of the dashes below any heading will right align text for that column.
| Option | Description |
| ------:| -----------:|
| data   | path to data files to supply the data that will be passed into templates. |
| engine | engine to be used for processing templates. Handlebars is the default. |
| ext    | extension to be used for dest files. |
| Option | Description |
|---|---|
| data | path to data files to supply the data that will be passed into templates. |
| engine | engine to be used for processing templates. Handlebars is the default. |
| ext | extension to be used for dest files. |
| Option | Description |
|---|---|
| ext | extension to be used for dest files. |
| Option | Description |
|---|---|
| ext | extension to be used for dest files. |
[Assemble](http://assemble.io)
Renders to (hover over the link, there is no tooltip):
HTML:
<a href="http://assemble.io">Assemble</a>
[Upstage](https://github.com/upstage/ "Visit Upstage!")
Renders to (hover over the link, there should be a tooltip):
HTML:
<a href="https://github.com/upstage/" title="Visit Upstage!">Upstage</a>
Named anchors enable you to jump to the specified anchor point on the same page. For example, each of these chapters:
# Table of Contents
  * [Chapter 1](#chapter-1)
  * [Chapter 2](#chapter-2)
  * [Chapter 3](#chapter-3)
will jump to these sections:
## Chapter 1 <a id="chapter-1"></a>
Content for chapter one.

## Chapter 2 <a id="chapter-2"></a>
Content for chapter one.

## Chapter 3 <a id="chapter-3"></a>
Content for chapter one.
NOTE that specific placement of the anchor tag seems to be arbitrary. They are placed inline here since it seems to be unobtrusive, and it works.
Images have a similar syntax to links but include a preceding exclamation point.


or


Like links, Images also have a footnote style syntax
![Alt text][id]

With a reference later in the document defining the URL location:
[id]: https://octodex.github.com/images/dojocat.jpg "The Dojocat"
The Hugo Markdown parser supports additional non-standard functionality.
Add HTTP parameters width and/or height to the link image to resize the image. Values are CSS values (default is auto).


Add a HTTP classes parameter to the link image to add CSS classes. shadowand border are available but you could define other ones.


Add a HTTP featherlight parameter to the link image to disable lightbox. By default lightbox is enabled using the featherlight.js plugin. You can disable this by defining featherlight to false.


The Relearn theme uses Hugo’s built-in syntax highlighting for code.
Wrap the code block with three backticks and the name of the language. Highlight will try to auto detect the language if one is not provided.
```json
[
  {
    "title": "apples",
    "count": [12000, 20000],
    "description": {"text": "...", "sensitive": false}
  },
  {
    "title": "oranges",
    "count": [17500, null],
    "description": {"text": "...", "sensitive": false}
  }
]
```
Renders to:
[
  {
    "title": "apples",
    "count": [12000, 20000],
    "description": {"text": "...", "sensitive": false}
  },
  {
    "title": "oranges",
    "count": [17500, null],
    "description": {"text": "...", "sensitive": false}
  }
]
Hugo comes with a remarkable list of supported languages.
You can choose a color theme from the list of supported themes and add it in your config.toml
[markup]
  [markup.highlight]
    # if set to `guessSyntax = true`, there will be no unstyled code even if no language
    # was given BUT mermaid code fences will not work anymore! So this is a mandatory
    # setting for your site
    guessSyntax = false

    # choose a color theme or create your own
    style = "base16-snazzy"
You can define additional menu entries or shortcuts in the navigation menu without any link to content.
Edit the website configuration config.toml and add a [[menu.shortcuts]] entry for each link your want to add.
Example from the current website:
[[menu.shortcuts]]
name = "<i class='fab fa-fw fa-github'></i> GitHub repo"
identifier = "ds"
url = "https://github.com/McShelby/hugo-theme-relearn"
weight = 10

[[menu.shortcuts]]
name = "<i class='fas fa-fw fa-camera'></i> Showcases"
url = "more/showcase/"
weight = 11

[[menu.shortcuts]]
name = "<i class='fas fa-fw fa-bookmark'></i> Hugo Documentation"
identifier = "hugodoc"
url = "https://gohugo.io/"
weight = 20

[[menu.shortcuts]]
name = "<i class='fas fa-fw fa-bullhorn'></i> Credits"
url = "more/credits/"
weight = 30

[[menu.shortcuts]]
name = "<i class='fas fa-fw fa-tags'></i> Tags"
url = "tags/"
weight = 40
By default, shortcuts are preceded by a title. This title can be disabled by setting disableShortcutsTitle=true.
However, if you want to keep the title but change its value, it can be overriden by changing your local i18n translation string configuration.
For example, in your local i18n/en.toml file, add the following content
[Shortcuts-Title]
other = "<Your value>"
Read more about hugo menu and hugo i18n translation strings
When using a multilingual website, you can set different menus for each language. In the config.toml file, prefix your menu configuration by Languages.<language-id>.
Example from the current website:
[Languages]
  [Languages.en]
    title = "Hugo Relearn Theme"
    weight = 1
    languageName = "English"
    landingPageURL = "/"
    landingPageName = "<i class='fas fa-home'></i> Home"

  [[Languages.en.menu.shortcuts]]
    name = "<i class='fab fa-fw fa-github'></i> GitHub repo"
    identifier = "ds"
    url = "https://github.com/McShelby/hugo-theme-relearn"
    weight = 10

  [[Languages.en.menu.shortcuts]]
    name = "<i class='fas fa-fw fa-camera'></i> Showcases"
    url = "more/showcase/"
    weight = 11

  [[Languages.en.menu.shortcuts]]
    name = "<i class='fas fa-fw fa-bookmark'></i> Hugo Documentation"
    identifier = "hugodoc"
    url = "https://gohugo.io/"
    weight = 20

  [[Languages.en.menu.shortcuts]]
    name = "<i class='fas fa-fw fa-bullhorn'></i> Credits"
    url = "more/credits/"
    weight = 30

  [[Languages.en.menu.shortcuts]]
    name = "<i class='fas fa-fw fa-tags'></i> Tags"
    url = "tags/"
    weight = 40

  [Languages.pir]
    title = "Cap'n Hugo Relearrrn Theme"
    weight = 1
    languageName = "Arrr! Pirrrates"
    landingPageURL = "/pir/"
    landingPageName = "<i class='fas fa-home'></i> Arrr! Home"

  [[Languages.pir.menu.shortcuts]]
    name = "<i class='fab fa-fw fa-github'></i> GitHub repo"
    identifier = "ds"
    url = "https://github.com/McShelby/hugo-theme-relearn"
    weight = 10

  [[Languages.pir.menu.shortcuts]]
    name = "<i class='fas fa-fw fa-camera'></i> Showcases"
    url = "more/showcase/"
    weight = 11

  [[Languages.pir.menu.shortcuts]]
    name = "<i class='fas fa-fw fa-bookmark'></i> Cap'n Hugo Documentat'n"
    identifier = "hugodoc"
    url = "https://gohugo.io/"
    weight = 20

  [[Languages.pir.menu.shortcuts]]
    name = "<i class='fas fa-fw fa-bullhorn'></i> Crrredits"
    url = "more/credits/"
    weight = 30

  [[Languages.pir.menu.shortcuts]]
    name = "<i class='fas fa-fw fa-tags'></i> Arrr! Tags"
    url = "tags/"
    weight = 40
Read more about hugo menu and hugo multilingual menus
The Relearn theme for Hugo loads the Font Awesome library, allowing you to easily display any icon or logo available in the Font Awesome free collection.
Browse through the available icons in the Font Awesome Gallery. Notice that the free filter is enabled, as only the free icons are available by default.
Once on the Font Awesome page for a specific icon, for example the page for the heart, copy the HTML reference and paste into the Markdown content.
The HTML to include the heart icon is:
<i class="fas fa-heart"></i>
Paste the <i> HTML into markup and Font Awesome will load the relevant icon.
Built with <i class="fas fa-heart"></i> by Relearn and Hugo
Which appears as
Built with by Relearn and Hugo
Font Awesome provides many ways to modify the icon
Check the full documentation on web fonts with CSS for more.
The Relearn theme is fully compatible with Hugo multilingual mode.
It provides:
After learning how Hugo handle multilingual websites, define your languages in your config.toml file.
For example with current English and Piratized English website.
# English is the default language
defaultContentLanguage = "en"

[Languages]
[Languages.en]
title = "Hugo Relearn Theme"
weight = 1
languageName = "English"

[Languages.pir]
title = "Cap'n Hugo Relearrrn Theme"
weight = 2
languageName = "Arrr! Pirrrates"
Then, for each new page, append the id of the language to the file.
my-page.md is split in two files:
my-page.mdmy-page.pir.md_index.md is split in two files:
_index.md_index.pir.mdBe aware that only translated pages are displayed in menu. It’s not replaced with default language content.
Use slug Front Matter parameter to translate urls too.
Translations strings are used for common default values used in the theme (Edit button, Search placeholder and so on). Translations are available in English and Piratized English but you may use another language or want to override default values.
To override these values, create a new file in your local i18n folder i18n/<idlanguage>.toml and inspire yourself from the theme themes/hugo-theme-relearn/i18n/en.toml
Switching the language in the browser is a great feature, but for some reasons you may want to disable it.
Just set disableLanguageSwitchingButton=true in your config.toml
[params]
  # When using mulitlingual website, disable the switch language button.
  disableLanguageSwitchingButton = true
The Relearn theme supports one default taxonomy of Hugo: the tag feature.
Just add tags to any page:
+++
tags = ["tutorial", "theme"]
title = "Theme tutorial"
weight = 15
+++
The tags are displayed at the top of the page, in their insertion order.
Each tag is a link to a Taxonomy page displaying all the articles with the given tag.
In the config.toml file you can add a shortcut to display all the tags
[[menu.shortcuts]]
name = "<i class='fas fa-tags'></i> Tags"
url = "/tags"
weight = 30